Hot, homemade whole wheat bread--- is there anything more welcoming? As a young girl, I used to watch my mother make this recipe. The image of her allowing her youngest helpers spoon in the ingredients makes me feel at home. While making it this week, my first instinct was to get my three year old and hand him the measuring cups. We had a great time together, and he was so proud to eat the bread "he" had made.
That's the wonderful thing about this recipe. It's so simple that kids can help. Not only that, but it's amazingly good. Most people have a hard time believing it's whole wheat. It is soft, it doesn't crumble, the crust is thin, and the texture is SO smooth.
That's because my bread has a secret. It's something my mother discovered after producing a few loaves of "bricks" as she so lovingly called them. Don't worry, I'm not planning on keeping you in suspense. In fact, this secret NEEDS to be shared! This secret ingredient--- is called Vital Wheat Gluten. You can buy it in just about any grocery store. Without it, you'll get a typical loaf of wheat bread. Crumbly, heavy..... Not a family favorite. With it, this bread practically melts in your mouth.
Recipe:
3 C. Warm Water
1 T. Yeast
1 T. Salt
1/3 C. Vital Wheat Gluten
3 T. Oil
1/3 C. Honey
7-8 C. Whole Wheat Flour
I like to start at the very beginning; grinding the wheat. If you don't have a grinder, you can buy whole wheat flour already milled, and it doesn't make too much of a difference. My favorite wheat to use for bread is hard white wheat.
Tip: The higher the protein content, the better loaf it is going to make.
When grinding wheat, it is a 1:1 ratio. So, 1 cup of wheat berries, is going to make 1 cup of flour.
Next, gather your ingredients.
Tip: Water temperature should be hot enough that your finger is uncomfortable.
Pour all ingredients (except flour) into a mixing bowl and whisk. Once they have all been combined, add 3 C. of flour and continue to whisk.
From here, you won't want to use the whisk any more. The dough will be getting thicker quick. I don't have a full scale mixer, so I just use a bread hook attachment on my hand mixer. It works pretty well, but I'm definitely pining for something a little more heavy duty. Ahhh... Someday.
One cup at a time, begin adding the remaining flour.
Keep adding it until the dough no longer sticks to the side of the bowl and isn't tacky when you touch it with your fingers.
Split the dough in half and turn one portion onto a well floured surface. I like to turn it over a few times if it's still a little sticky, to coat the surface with flour.
Roll the dough out into a long rectangular shape. Once it is flattened out, roll it up like a cinnamon roll, and pinch off the ends. Most people don't do this, but I've found it's a pretty fail-safe way to get a beautiful loaf of bread. Another reason I like this method is because it rolls out all the little air bubbles that are left over in the dough. That way you don't get any gaping holes in your slices.
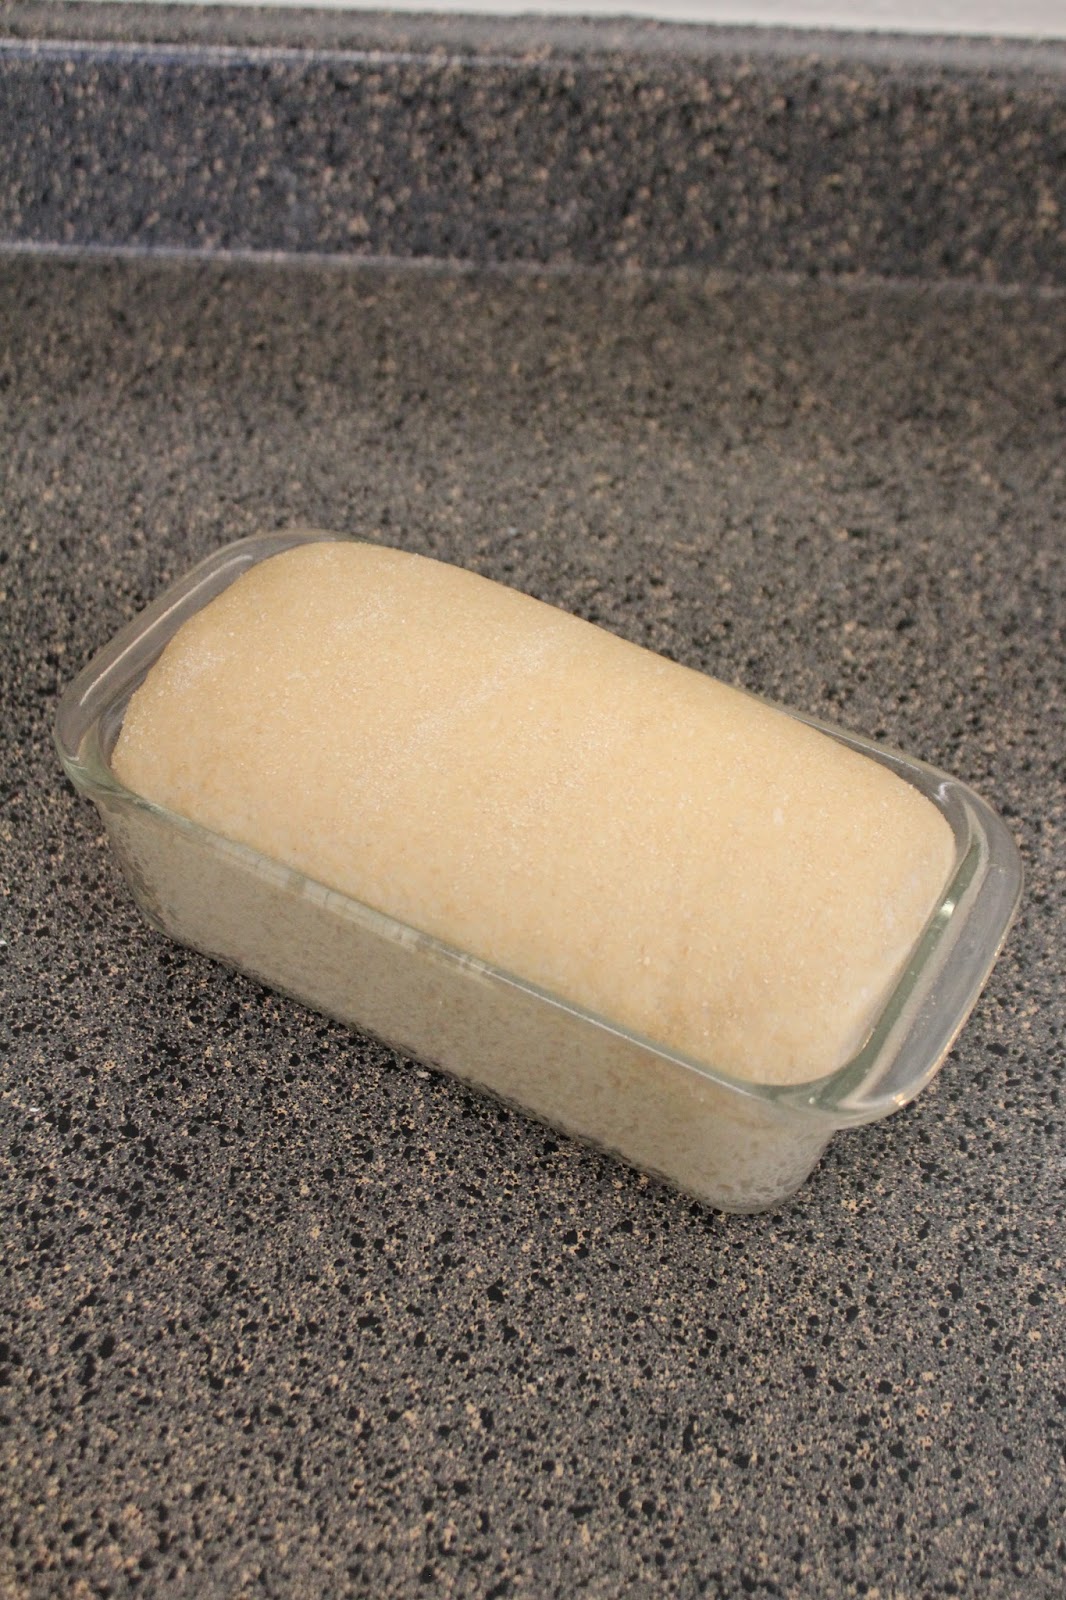
Place your dough roll in a greased bread pan, and set in a warm oven to raise for one hour.
Tip: Don't let the oven get over 100 degrees, or else it will give you a really thick crust.
See how nice and smooth it has risen up to be!
Next, bake at 350 for 30 minutes. Remove from the bread pan to cool or serve warm. Enjoy!


No comments:
Post a Comment